Understanding Drone Photography Basics
Drone photography has revolutionized the way we capture images from the air. The ability to soar above landscapes and take unique perspectives is not just exciting; it adds a new dimension to photography. However, to capture stunning aerial images, it’s essential to grasp the fundamentals of drone photography. This guide provides drone photography tips that will help both beginners and seasoned photographers improve their aerial photography skills.
Essential Equipment for Drone Photography
The first step in becoming a skilled drone photographer is to select the right equipment. The primary component is, of course, the drone itself. Drones come in various shapes, sizes, and functionalities, and selecting one that fits your needs is crucial. Here’s a breakdown of the essential equipment:
- Camera Quality: Look for drones with high-resolution cameras, ideally 12 MP and above, for crisp aerial shots.
- Gimbal Stabilization: A gimbal is necessary to keep your camera steady, ensuring smooth and stable images and video.
- Battery Life: The longer your drone can stay airborne, the more photo opportunities you will have. Look for drones that offer at least 20-30 minutes of flight time.
- Controller and Distance: A good controller can greatly enhance the user experience. Also, consider the transmission range; some models can fly miles away from the controller.
- Accessories: Extra batteries, propellers, and memory cards are crucial to extend your shooting time and prepare for emergencies.
Key Settings for Capturing Great Shots
Once you have the right equipment, understanding the camera settings is vital for capturing exceptional aerial shots. Here are some key settings to consider:
- Shutter Speed: Use a fast shutter speed to reduce motion blur, especially if you’re shooting moving subjects or during windy conditions.
- Aperture: A wider aperture (lower f-stop number) lets in more light but can reduce your depth of field—so balance accordingly based on your subject.
- ISO Settings: Keep the ISO as low as possible to avoid noise in your images, particularly in bright daylight.
- White Balance: Manually setting the white balance can dramatically improve the color accuracy of your photos.
Legal Considerations in Drone Photography
Legal aspects play a significant role in drone photography. It’s essential to be aware of local regulations and guidelines before flying your drone. Here are some key points:
- FAA Regulations: In the United States, the Federal Aviation Administration (FAA) has strict regulations regarding commercial drone use. Make sure you understand and comply with these.
- No-Fly Zones: Familiarize yourself with restricted areas, including near airports, emergency sites, and wildlife preserves.
- Privacy Concerns: Always obtain the property owner’s permission before flying over private land, and respect the privacy of individuals.
- Insurance: Consider getting insurance for your drone to cover damages or liabilities while you’re operating it.
Planning Your Aerial Shots
Planning is critical to successfully executing your aerial photography vision. Here are some planning tips to get the most out of your shoots.
Choosing the Right Location for Drone Photography
The location can make or break your aerial shots. Research potential locations before your shoot and consider:
- Scenery: Look for areas with visually appealing landscapes such as mountains, lakes, fields, or urban landmarks.
- Accessibility: Ensure the site is accessible and that you can safely fly your drone without restrictions.
- Unique Features: Look for unique geographical features that can provide stunning visual context, such as winding rivers or unique architecture.
Time of Day: Best Practices for Lighting
Lighting is a photographer’s best friend. For drone photography, the timing of your shoot can significantly impact the quality of your images. Consider these tips:
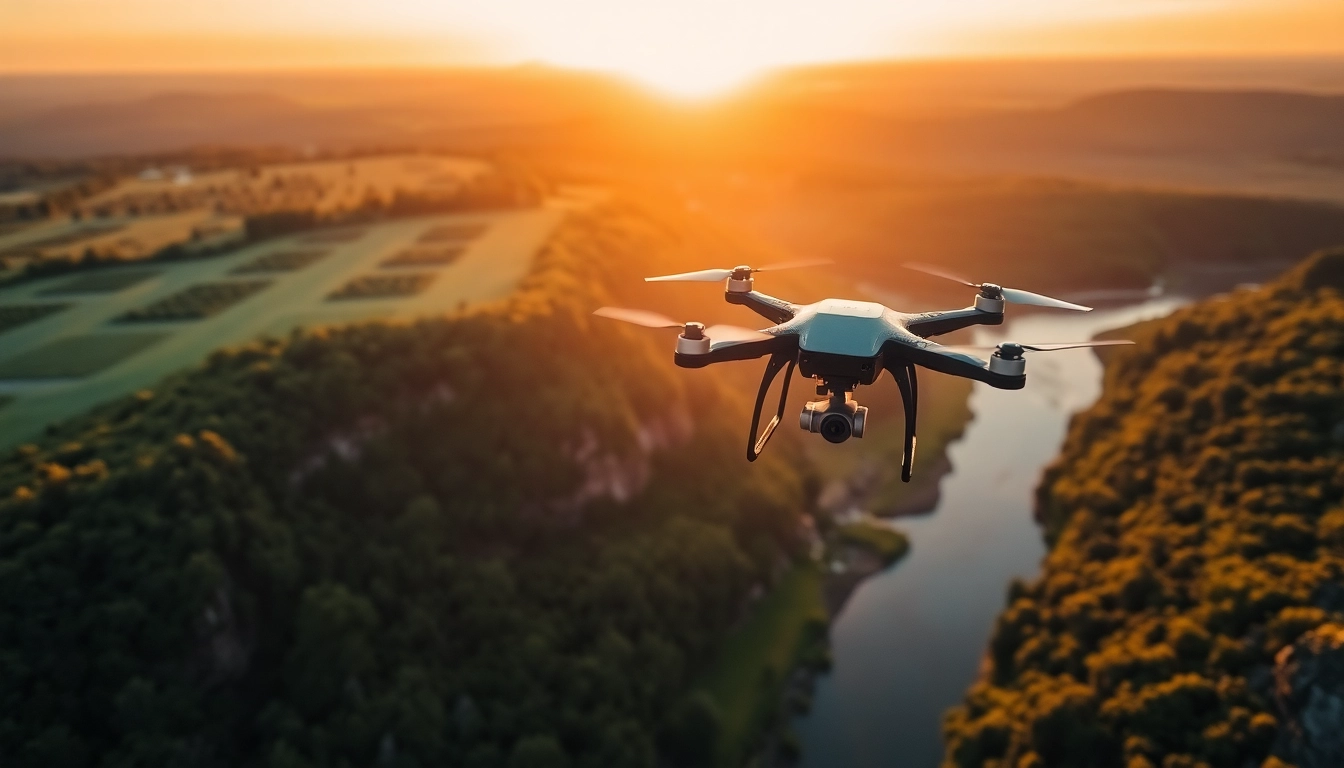
- Golden Hour: The hour after sunrise and the hour before sunset offers soft, diffused lighting that can create beautiful colors in the sky and emphasize depth.
- Midday Sun: Shooting when the sun is high can result in harsh shadows. If you must shoot during this time, look for shaded areas or consider using polarizing filters to reduce glare.
- Weather Conditions: Overcast skies can provide even lighting, making them excellent for capturing colors without extreme contrast.
Creating a Shot List to Stay Organized
Organization is key to making the most of your aerial photography session. A shot list not only helps structure your shoot but also ensures you don’t miss vital opportunities. Here’s how to create an effective shot list:
- Identify Key Shots: List the specific shots you want to achieve, including wide scenes, close-ups, and specific angles.
- Plan Flight Path: Sketch a potential flight path to optimize time and battery life, ensuring minimal backtracking.
- Check Weather and Conditions: Assess conditions on the day of the shoot to adapt your shot list as necessary.
Technical Tips for Capturing Stunning Aerial Photos
After grasping the planning and basic concepts, it’s time to delve into the finer details of capturing breathtaking aerial images.
Understanding Composition in Drone Photography
Composition is vital. Even stunning locations can yield mediocre photos if the composition is off. Here are foundational rules:
- Rule of Thirds: Align key elements along the lines or intersections of a 3×3 grid to create balance.
- Leading Lines: Use natural elements in the landscape (like roads or rivers) to lead the viewer’s eye through the photograph.
- Framing: Frame your subject using surrounding elements to create depth and focus on the main subject.
Utilizing Different Perspectives and Angles
Flying your drone at various heights and angles can dramatically alter the perception of your images. Experiment with:
- Low Angles: Capture unique perspectives by flying low to the ground.
- Bird’s Eye View: Shots directly above the subject can create a distinct, engaging view.
- Dynamic Movements: Incorporate aerial maneuvers such as flying in circles or swift horizontal movements for more drama in your shots.
Post-Processing Techniques for Enhanced Images
Post-processing is crucial to elevate your drone photographs. Even professional images can benefit from additional tweaks. Here are techniques to improve your photos:
- Color Correction: Adjusting color temperature and saturation can bring your images to life.
- Crop and Straighten: Crop your images for better composition and straighten horizons to maintain professionalism.
- Sharpening: Increase clarity and sharpness to bring details to the forefront.
Common Challenges in Drone Photography
Like any photography form, drone photography presents unique challenges. Tackling these challenges head-on can significantly improve your success rate.
Overcoming Bad Weather Conditions
Weather is one of the most unpredictable elements in drone photography. Here’s how to prepare:
- Research Weather Patterns: Always check forecasts. A slight rain or overcast can work for dramatic shots, but heavy rain or strong winds pose danger.
- Protect Your Gear: Use waterproof covers and have emergency landing gear in case of inclement weather.
- Plan for Quick Landings: In bad weather, have a plan for quickly landing your drone to avoid accidents.
Avoiding Common Drone Flight Issues
Understanding the flight limits of your drone can prevent common difficulties. Here’s how:
- Pre-Flight Checks: Always conduct a pre-flight check to ensure everything is working properly—the battery, GPS signal, and camera.
- Familiarize Yourself with Controls: Smooth flying comes from experience. Practice flying in an open area to get used to the controls.
- Watch Out for GPS: In urban areas, signals can be problematic. Keep an eye on your drone’s positioning and have a backup plan to retrieve it.
Tips for Managing Battery Life and Power
Battery management can affect your ability to capture shots. To maximize drone usage:
- Carry Extra Batteries: Always bring spares, as a single battery likely won’t suffice for a full day of shooting.
- Monitor Battery Levels: Keep an eye on the battery indicator during flight; plan to land at around 30% battery life to ensure return.
- Use Low Power Modes: Many drones offer low power modes that extend battery life without sacrificing too much performance.
Advanced Techniques for Experienced Drone Photographers
When you’re ready to elevate your drone photography further, consider these advanced techniques. They will allow you to express creativity and showcase your aerial photography skills.
Using Filters for Unique Effects in Aerial Shots
Filters can significantly enhance your aerial photography. Here’s how:
- ND Filters: Neutral density (ND) filters reduce light entering your lens, allowing slower shutter speeds—ideal for adding motion blur to water or clouds.
- Polarizing Filters: These filters can reduce glare from reflective surfaces and enhance colors, making images more vibrant.
- Gradient Filters: Use these to balance exposure in high-contrast scenes, especially when capturing landscapes with a bright sky.
Leveraging Software for Geotagged Photography
Geotagging your images adds valuable data about where and when a shot was taken. Use specific software to:
- Catalog Your Images: Organize photos based on location, making it easier to find specific shots later.
- Map Your Flight Path: Analyzing flight paths can help you optimize future shoots by identifying successful routes and holes in your coverage.
- Integrate with Mapping Tools: Enhance your geographic data with tools like Google Earth or GIS software for better spatial analysis.
Creative Storytelling Through Aerial Imagery
Photography is about storytelling. Use your aerial shots to tell a narrative. Here are tips for creating compelling photo series:
- Sequence Your Shots: Capture a series of images that show progression or variety within a single theme.
- Focus on Details: Don’t forget to include close-ups of interesting elements within the larger landscape.
- Include Human Elements: Integrate people or animals in your images to create a connection and enhance storytelling.